Deploy OVF Template on ESXi
- 19 Mar 2024
- 1 Minute to read
- Print
- DarkLight
- PDF
Deploy OVF Template on ESXi
- Updated on 19 Mar 2024
- 1 Minute to read
- Print
- DarkLight
- PDF
Article summary
Did you find this summary helpful?
Thank you for your feedback!
About this Article
This article provides steps to deploy OVF Template on ESXi.
Deploy the OVF template as described below:
- Download Virsec-provided OVA file
- Log in to the VMware vSphere Web Client and navigate to the tab VMs > Actions
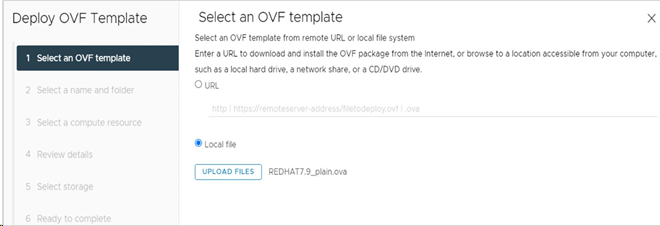
- Click Deploy OVF Template

- Step 1: In the new window, browse to select the Virsec-provided OVA file. Click NEXT
- Step 2: Provide VM Name and specify the location of VM deployment. Click NEXT

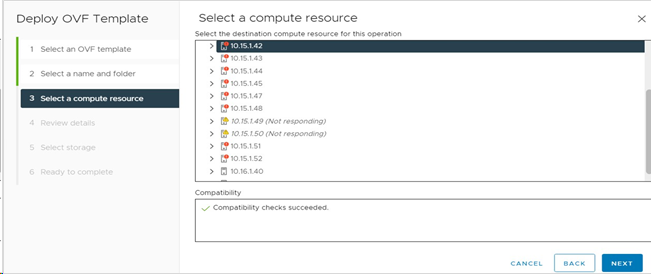
- Step 3: Select the required resource to deploy the VM. Click NEXT
- Step 4: Review the Package information (advanced configuration options). Click NEXT to accept the options

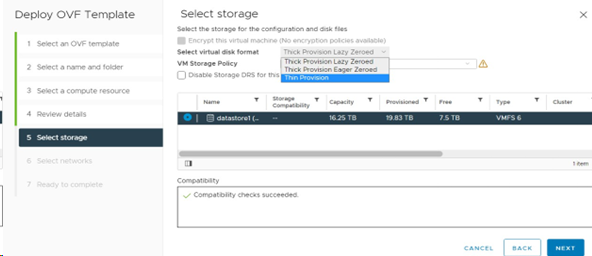
- Step 5: Select the desired storage location from the list of datastores. Select Thin Provision. Click NEXT
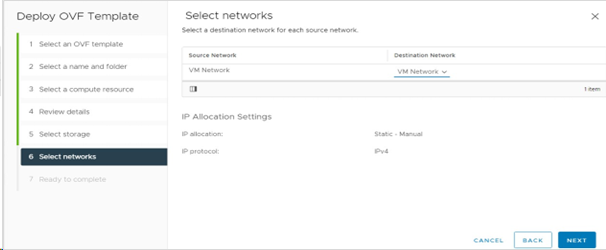
- Step 6: Select Destination Network from the dropdown for each source network. Click NEXT
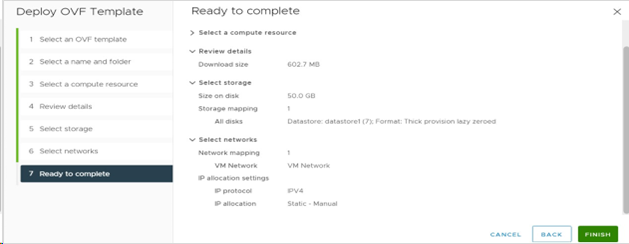
- Step 7: Review the configuration data. Click FINISH
- The OVF file is imported and deployed. Once completed, click Refresh to update the system. The newly deployed VM is visible in the center pane. Select the VM and click Power On
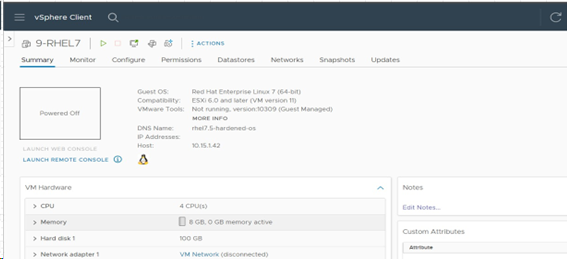
- Once the VM is powered on, click Launch Web Console to open the VM in a new window
- After a successful login, allocate four IP addresses
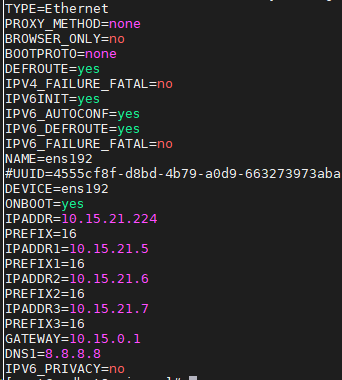
- Setup the primary interface with a total of 4 IP addresses
- Modify the file /etc/sysconfig/network-scripts/ifcfg-<interfacename> as depicted below to have 4 IP addresses
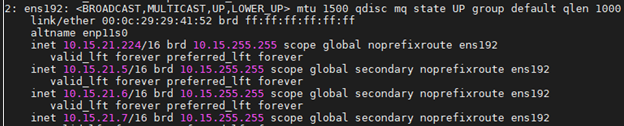
- Final configuration (sample) is depicted below
Was this article helpful?